Last week I wrote about a whole lot of ceramic beaded necklaces that were for sale at Sydney's Finders Keepers Markets (click here for my inspiration). I couldn't justify purchasing one of these necklaces without giving it a go first. So here is my attempt at creating my own ceramic beaded necklace. Follow the steps and you should end up in a similar position... pretty happy with my necklace which cost under $10 to make.

1. Gather your materials:
- polymer clay
- string/cord etc for threading the beads onto
- baking paper
- craft knife
- skewer

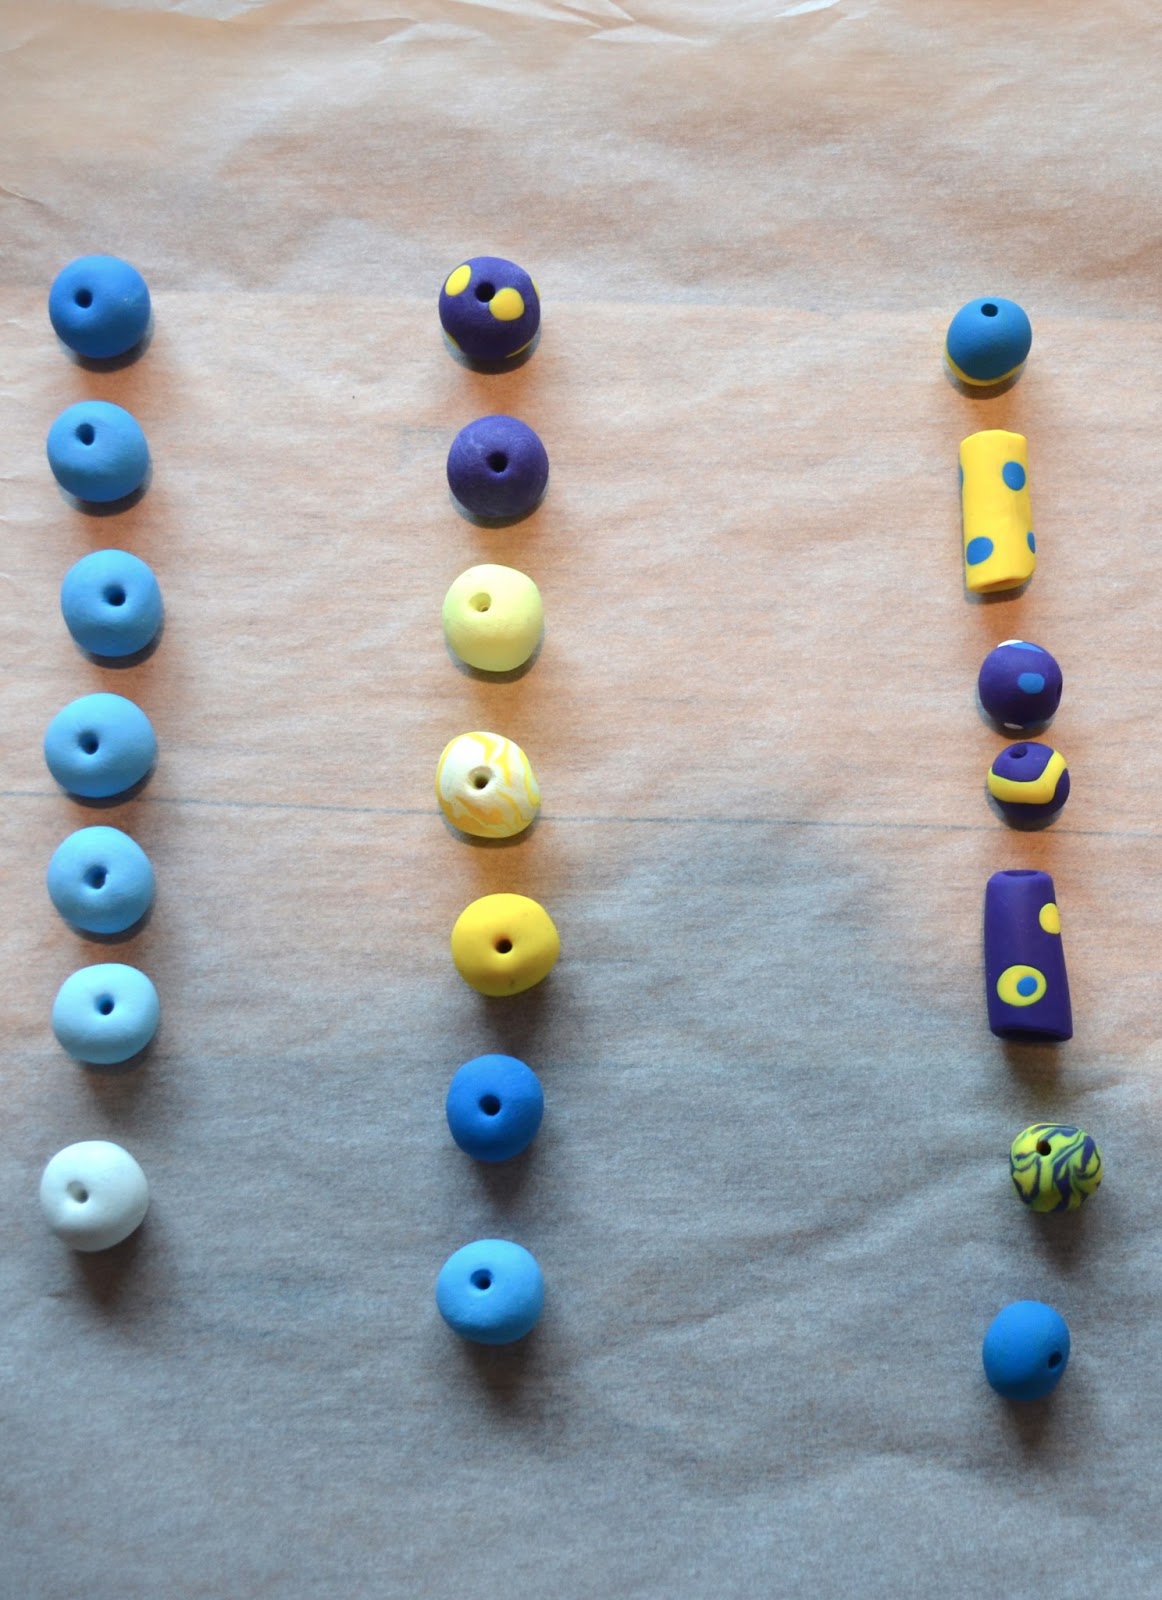
2. Lay some baking paper as a surface. Slice off 12mm squares of each colour you want. Above I have created the ombre effect by mixing parts of white with blue to create shades ranging from white to dark blue. The trick when mixing colours is to keep the amount of clay in each bead to the size of a 12mm square.

3. Roll your clay into balls. Do it fairly quickly as your hands will warm the clay up making the beads lose shape easily. Nb: If you are rolling a number of different coloured balls, wash your hands in between each colour to ensure colours don't spread.

4. Let the balls cool a bit, ensuring they keep their shape. Using your skewer, poke a hole through your balls large enough for your string/rope to thread through.
5. Once you have made all your beads, lay them out with baking paper on a baking tray and cook in the oven. Follow the cooking instructions on the clay wrapping. Mine advised 15min for every 6mm thickness at 130 degrees Celcius. Therefore cooking the beads for about 20-30mins.

6. Once the beads are cooked, let them cool then thread them onto your necklace string. Measure the length you desire, cut it and tie a knot.

Nb. For these three necklaces I spent less than $20 on materials at Spotlight and I still have left over clay and thread.

No comments :
Post a Comment